

My Female Tusken Raider Costume: Helmet Build
Here, I’m posting photos of my female Tusken Raider costume helmet, with instructions on how I made it. This tutorial is intended to help anyone who wants to tackle the female helmet from scratch; I’ll continue adding photos as this progresses.
Female Tusken Raider Costume Helmet

I started out with paper mache because I have a lot of experience in this medium. I knew that I could tackle the shape of the female Tusken Raider helmet, but if you’re not sure that paper mache is right for you, then you might want to go with the pre-made female Tusken Raider helmets.
I started with Melissa, my styrofoam mannequin head named after my sister, who lives out in Kansas. We like to set up Melissa for family events and pretend she’s there. Once again, Melissa is rearin’ and ready to help out with one of my projects.

Every good paper mache project starts with a good goopy paste!
If you don’t have a mannequin head, you can also use a balloon. I measured the circumference of my head just above my ears to see how big my helmet needed to be.
My paper mache mix is:
1 part Mod Podge
1 part flour
4 parts water
Melissa is smaller than my own head, so I used wads of paper mache to create space between my layers and the head. After adding these and letting dry, I used the measuring tape again to make sure this was the right size.

Upsiding Melissa’s head.
I added wedges of modeling clay to the head to create the flat shape extending down at the ears. Note the white clay stuck to the head in the photo below.
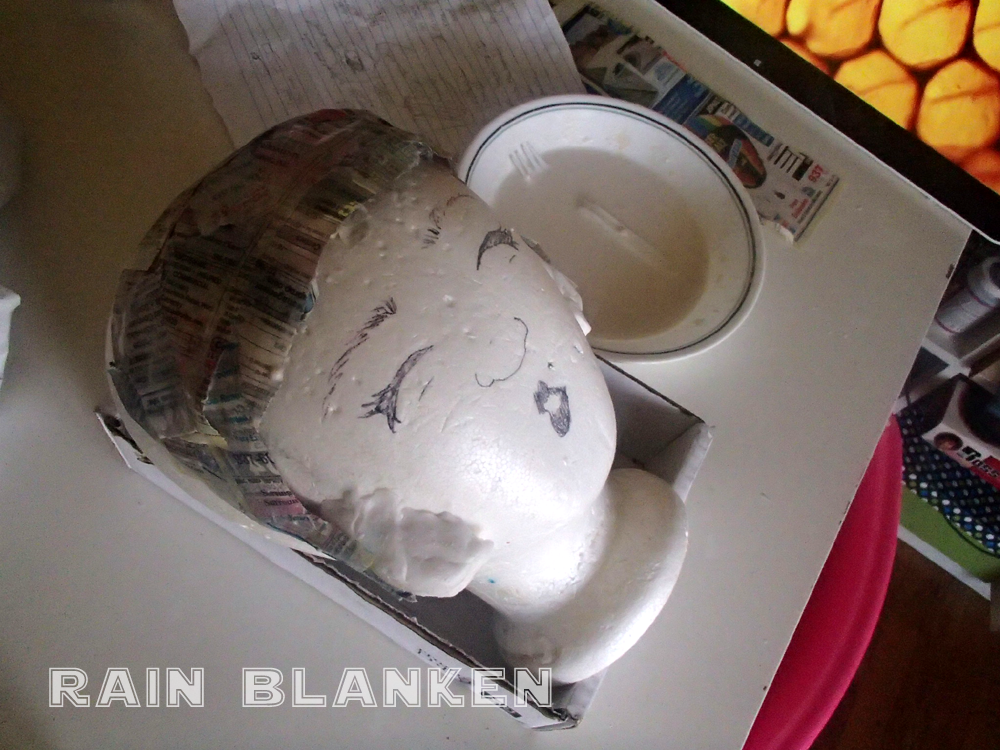
The blobs on the side will be used to shape the mask around the face.
I started by adding strips at the top of the head and down the ear line. This gave me the helmet shape right away. I slowly worked to add paper mache strips from the ear line up over the face and forehead, adding wads of wet newspaper to build the helmet slightly away from the styrofoam head. This ensures that the helmet will be at least a couple of inches bigger than my own face, as the helmet appears in reference photos.
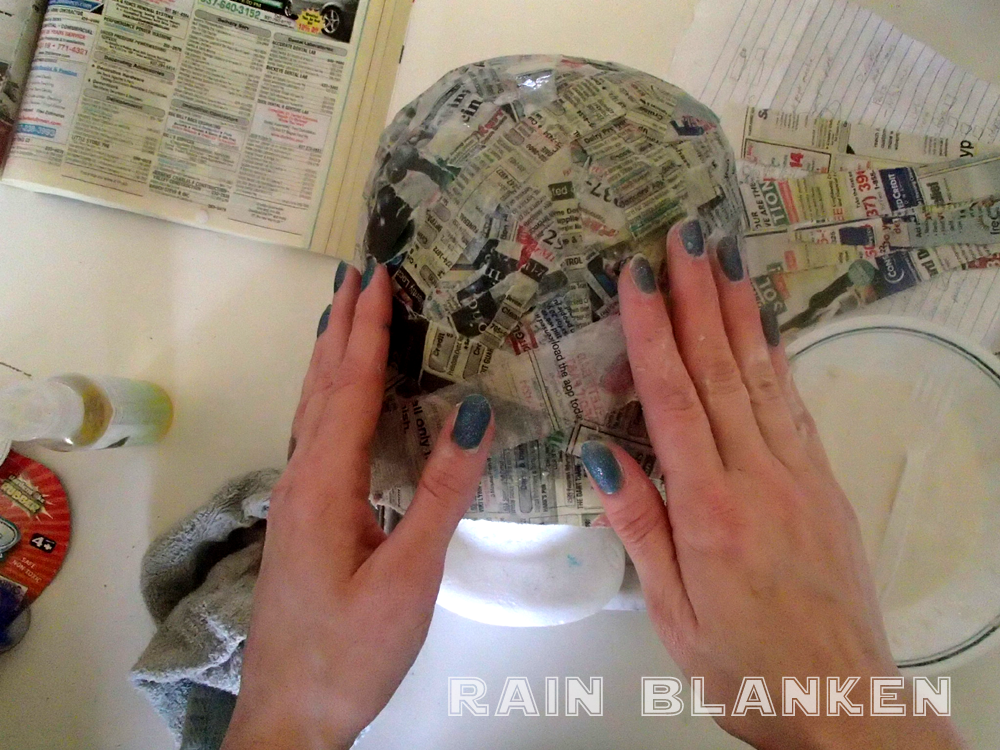
After i let that first part dry, I started criss-crossing the paper strips across the face area, attaching them to the blobs I stuck on the sides of the face.
To create the sides and top of the helmet, I used stiff magazine paper as my templates. This proved to be a stiff enough base to add layers of paper mache over:
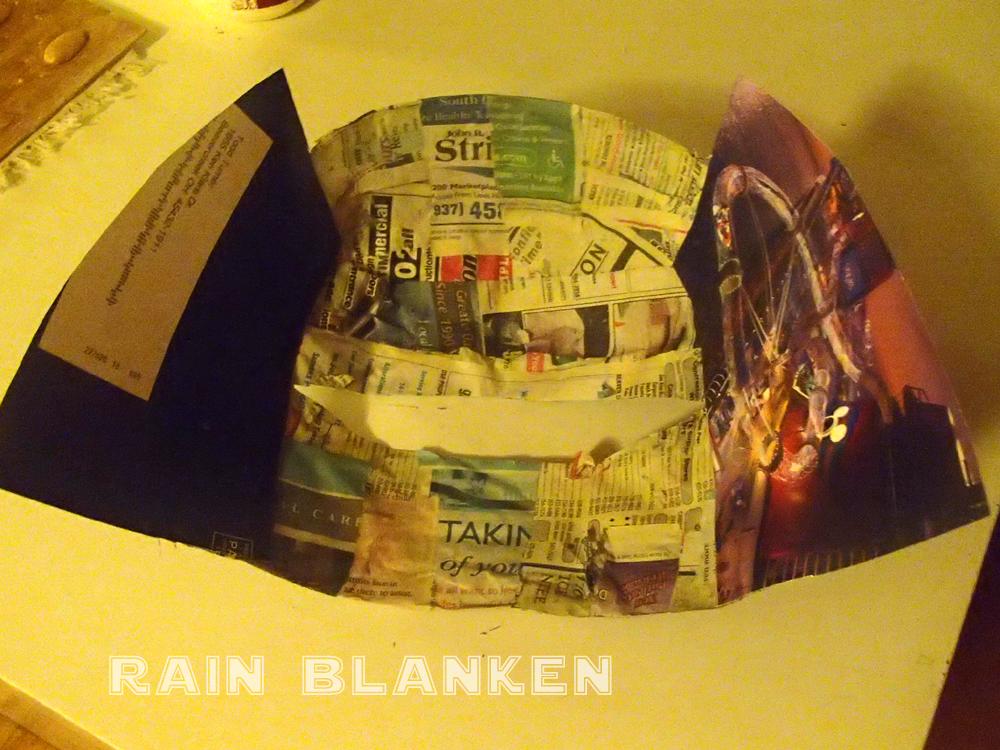
The sides of the mask started with panels of thick magazine paper.
I did a few layers on the sides and then another over the entire mask. Each layer needed to dry completely, so this was a few days of work. I’d alternate between layering the mask and working on other parts of the female tusken raider costume.
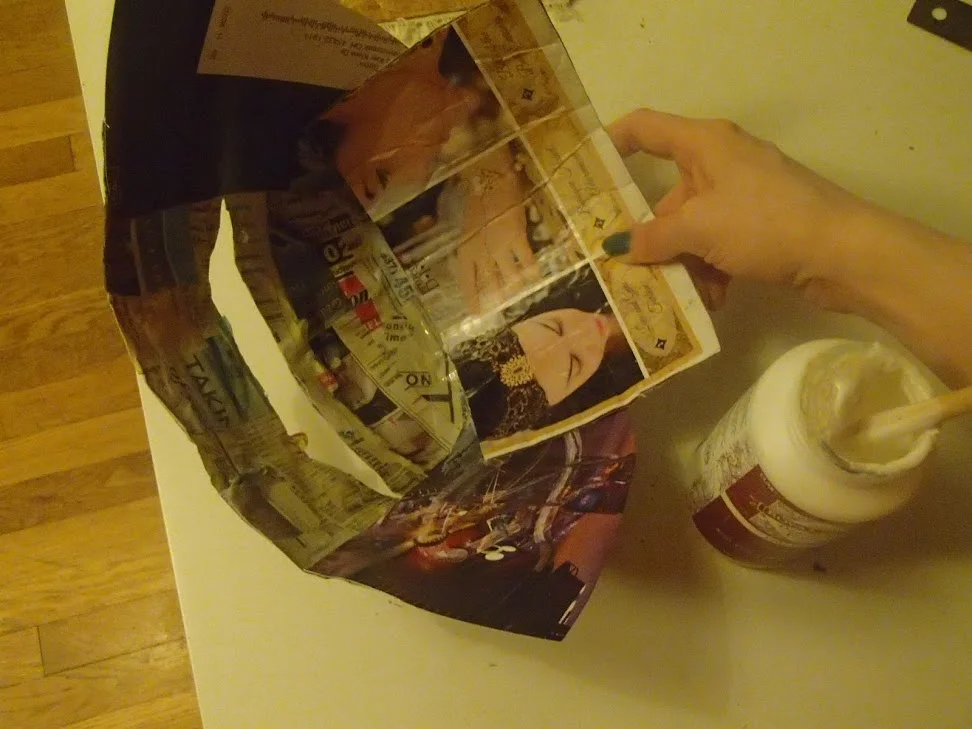
Here I’m glueing on a stiff paper to create the top part of the helmet.
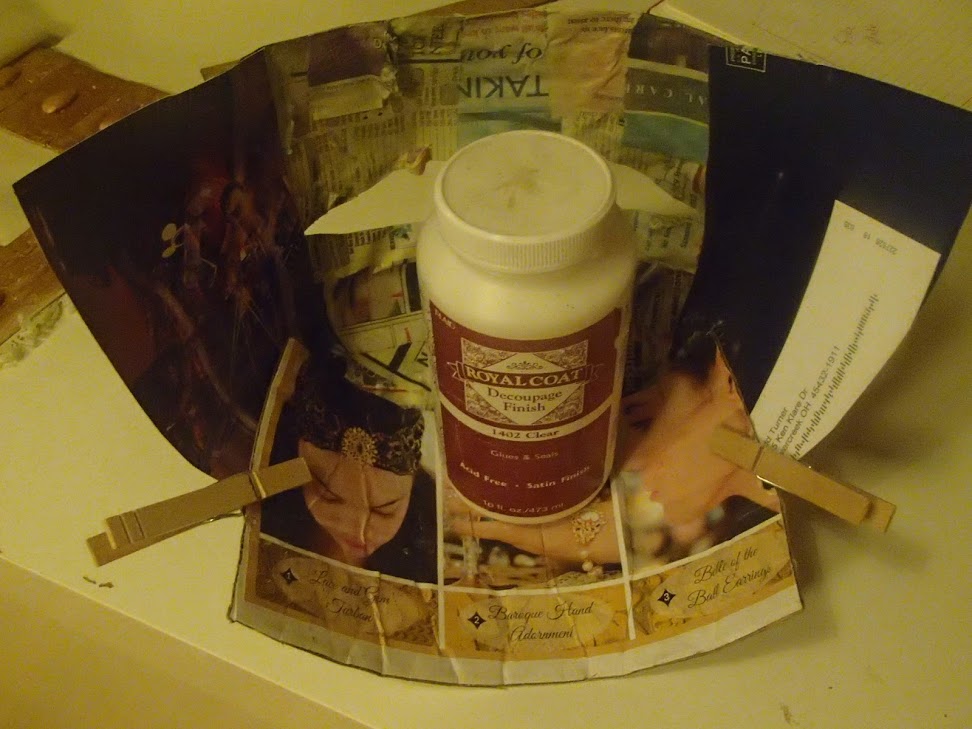
Here is the top of the helmet clipped and drying with the mod podge bottle standing in as a weight.

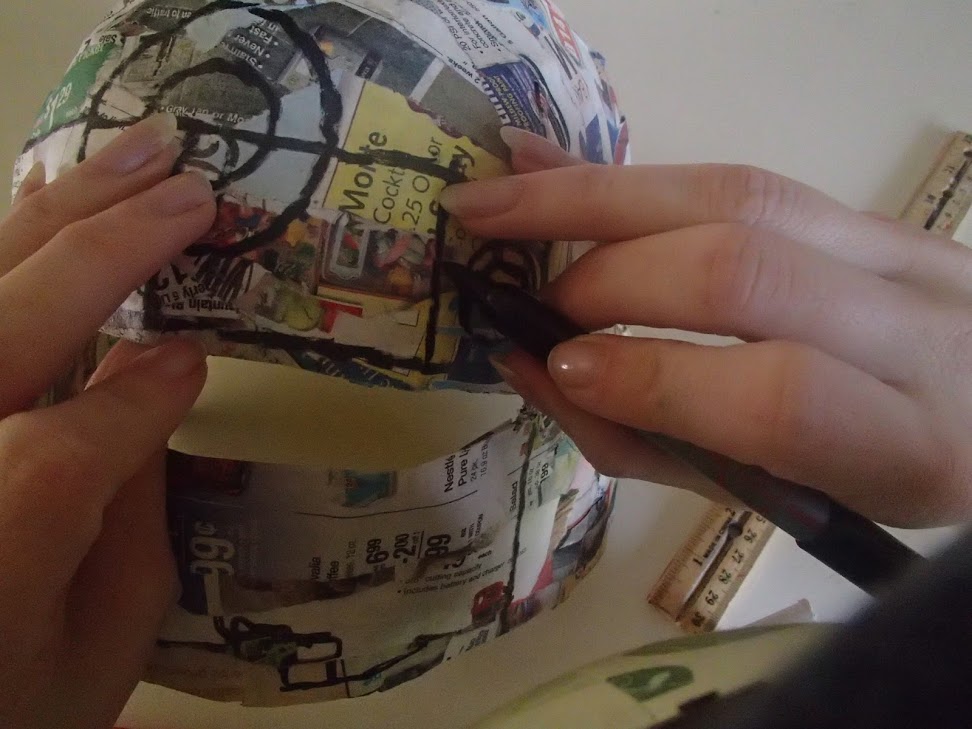
Once the front of the mask was dry and layered up enough, I could start adding detail. I cut out a slit for my eyes and started in on the hardware.
Just to check in on our reference, you can see that the female Tusken raider has a lot of recessed areas on it, in addition to a kinda crappy jewel in the center of her forehead. These knobs are most beautimous in the Tusken culture?
I created the center knob out of Crayola Model Magic clay. After considering Sculpey and a few other clay-like materials, I decided that while it can be fragile, the Model Magic is light enough to stay on the helmet.
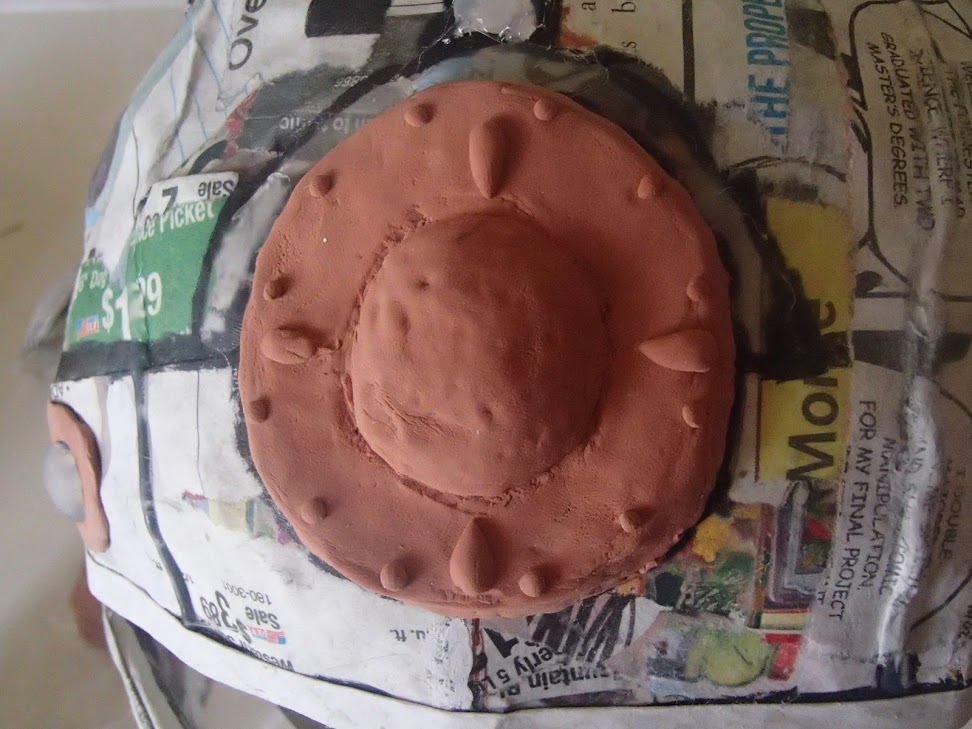
The brassy medallion made out of model magic clay.
The movie helmet looks like it was welded together (I guess they could do that in the sands of Tattooine), so I added those extra details with hot glue. It’s a great medium for creating detail like piping, bumps and seams. I ended up also blobbing up the hot glue to create the smaller knobs above the visor.

For the rectangular recessed areas, I added an additional 3 layers of paper mache, then once dry, I cut the rectangles out with an x-acto knife. The middle needed more definition from the rectangles, so I added another layer of paper mache there:

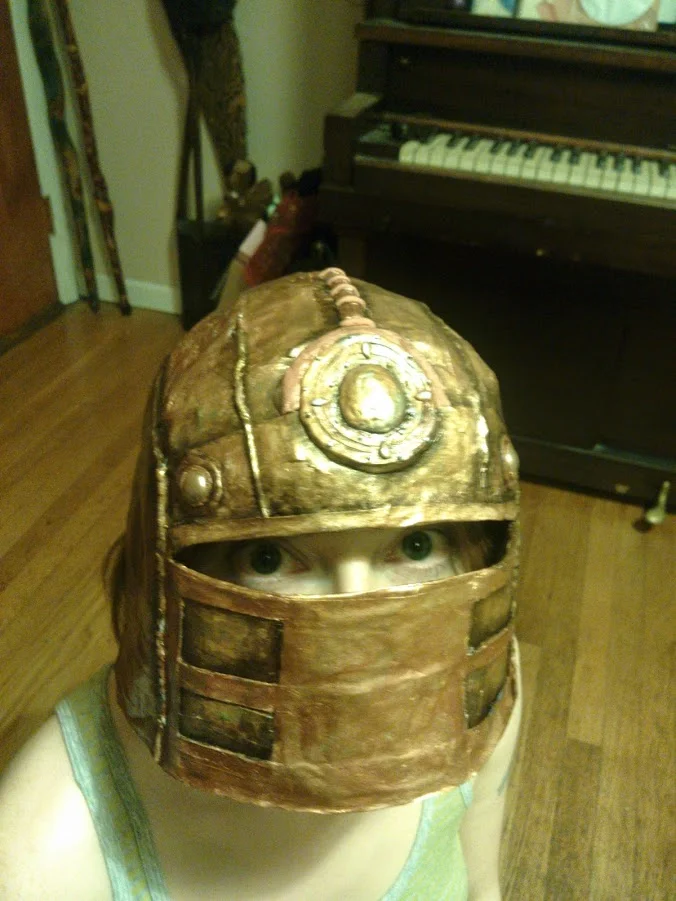
After the base was finished, I was ready to paint. I started with a layer of acrylic gold, then added brass and copper tones. Inside the recessed areas and around all of the seams, I added a dark brown to create depth.
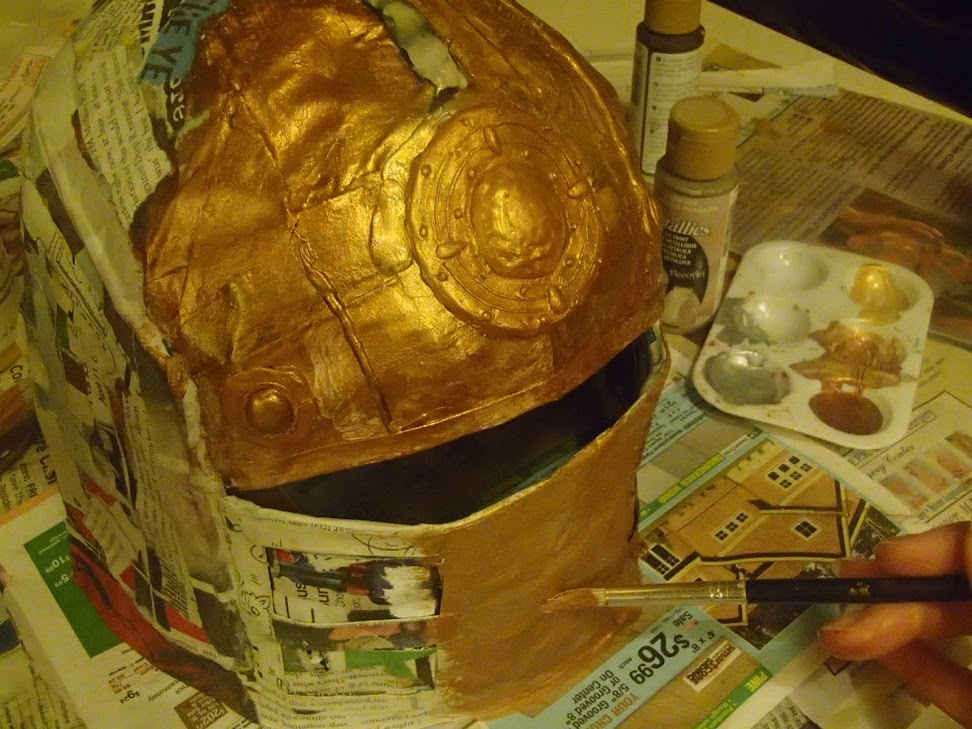
Painting the first layer of the female tusken raider mask.

Here I am sporting the finished mask! The ladies had some elaborate bibs in addition to the mask, though, so I still had a lot of work to do.
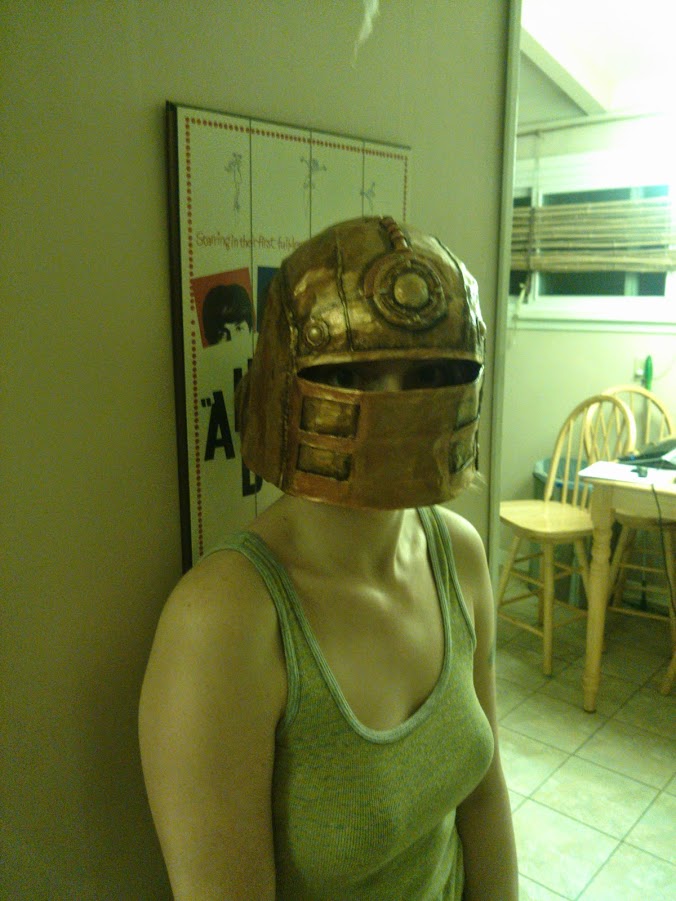
Ready for a desert adventure?
I’ll be back. And in greater numbers.


